How to Clean Honeycomb Shades: The Complete Guide from a Pro Installer
How to Clean Honeycomb Shades: The Complete Guide from a Pro Installer Knowing how to clean honeycomb shades correctly is a simple skill that can save you a...
By Mark Abplanalp

How to Clean Honeycomb Shades: The Complete Guide from a Pro Installer
Knowing how to clean honeycomb shades correctly is a simple skill that can save you a lot of time, money, and frustration. For most daily dust and grime, a soft vacuum brush or a simple microfiber cloth is all you need. For more stubborn spots, a gentle dabbing technique with a mild soap is the safest way to spot clean. The key is to avoid harsh chemicals, excessive moisture, or any method that could damage the unique pleated structure of these shades.
📘 The Complete Cellular Shade Guide — Cleaning is one part of getting the most life out of your shades. For the full buyer's framework — cell-in-cell construction, flush-mount installation, ROI math — read STOP LEAKING MONEY: the Expert's Guide to Choosing Cellular Shades for Maximum ROI in Coeur d'Alene & Post Falls →
Why Correct Cleaning Technique Matters
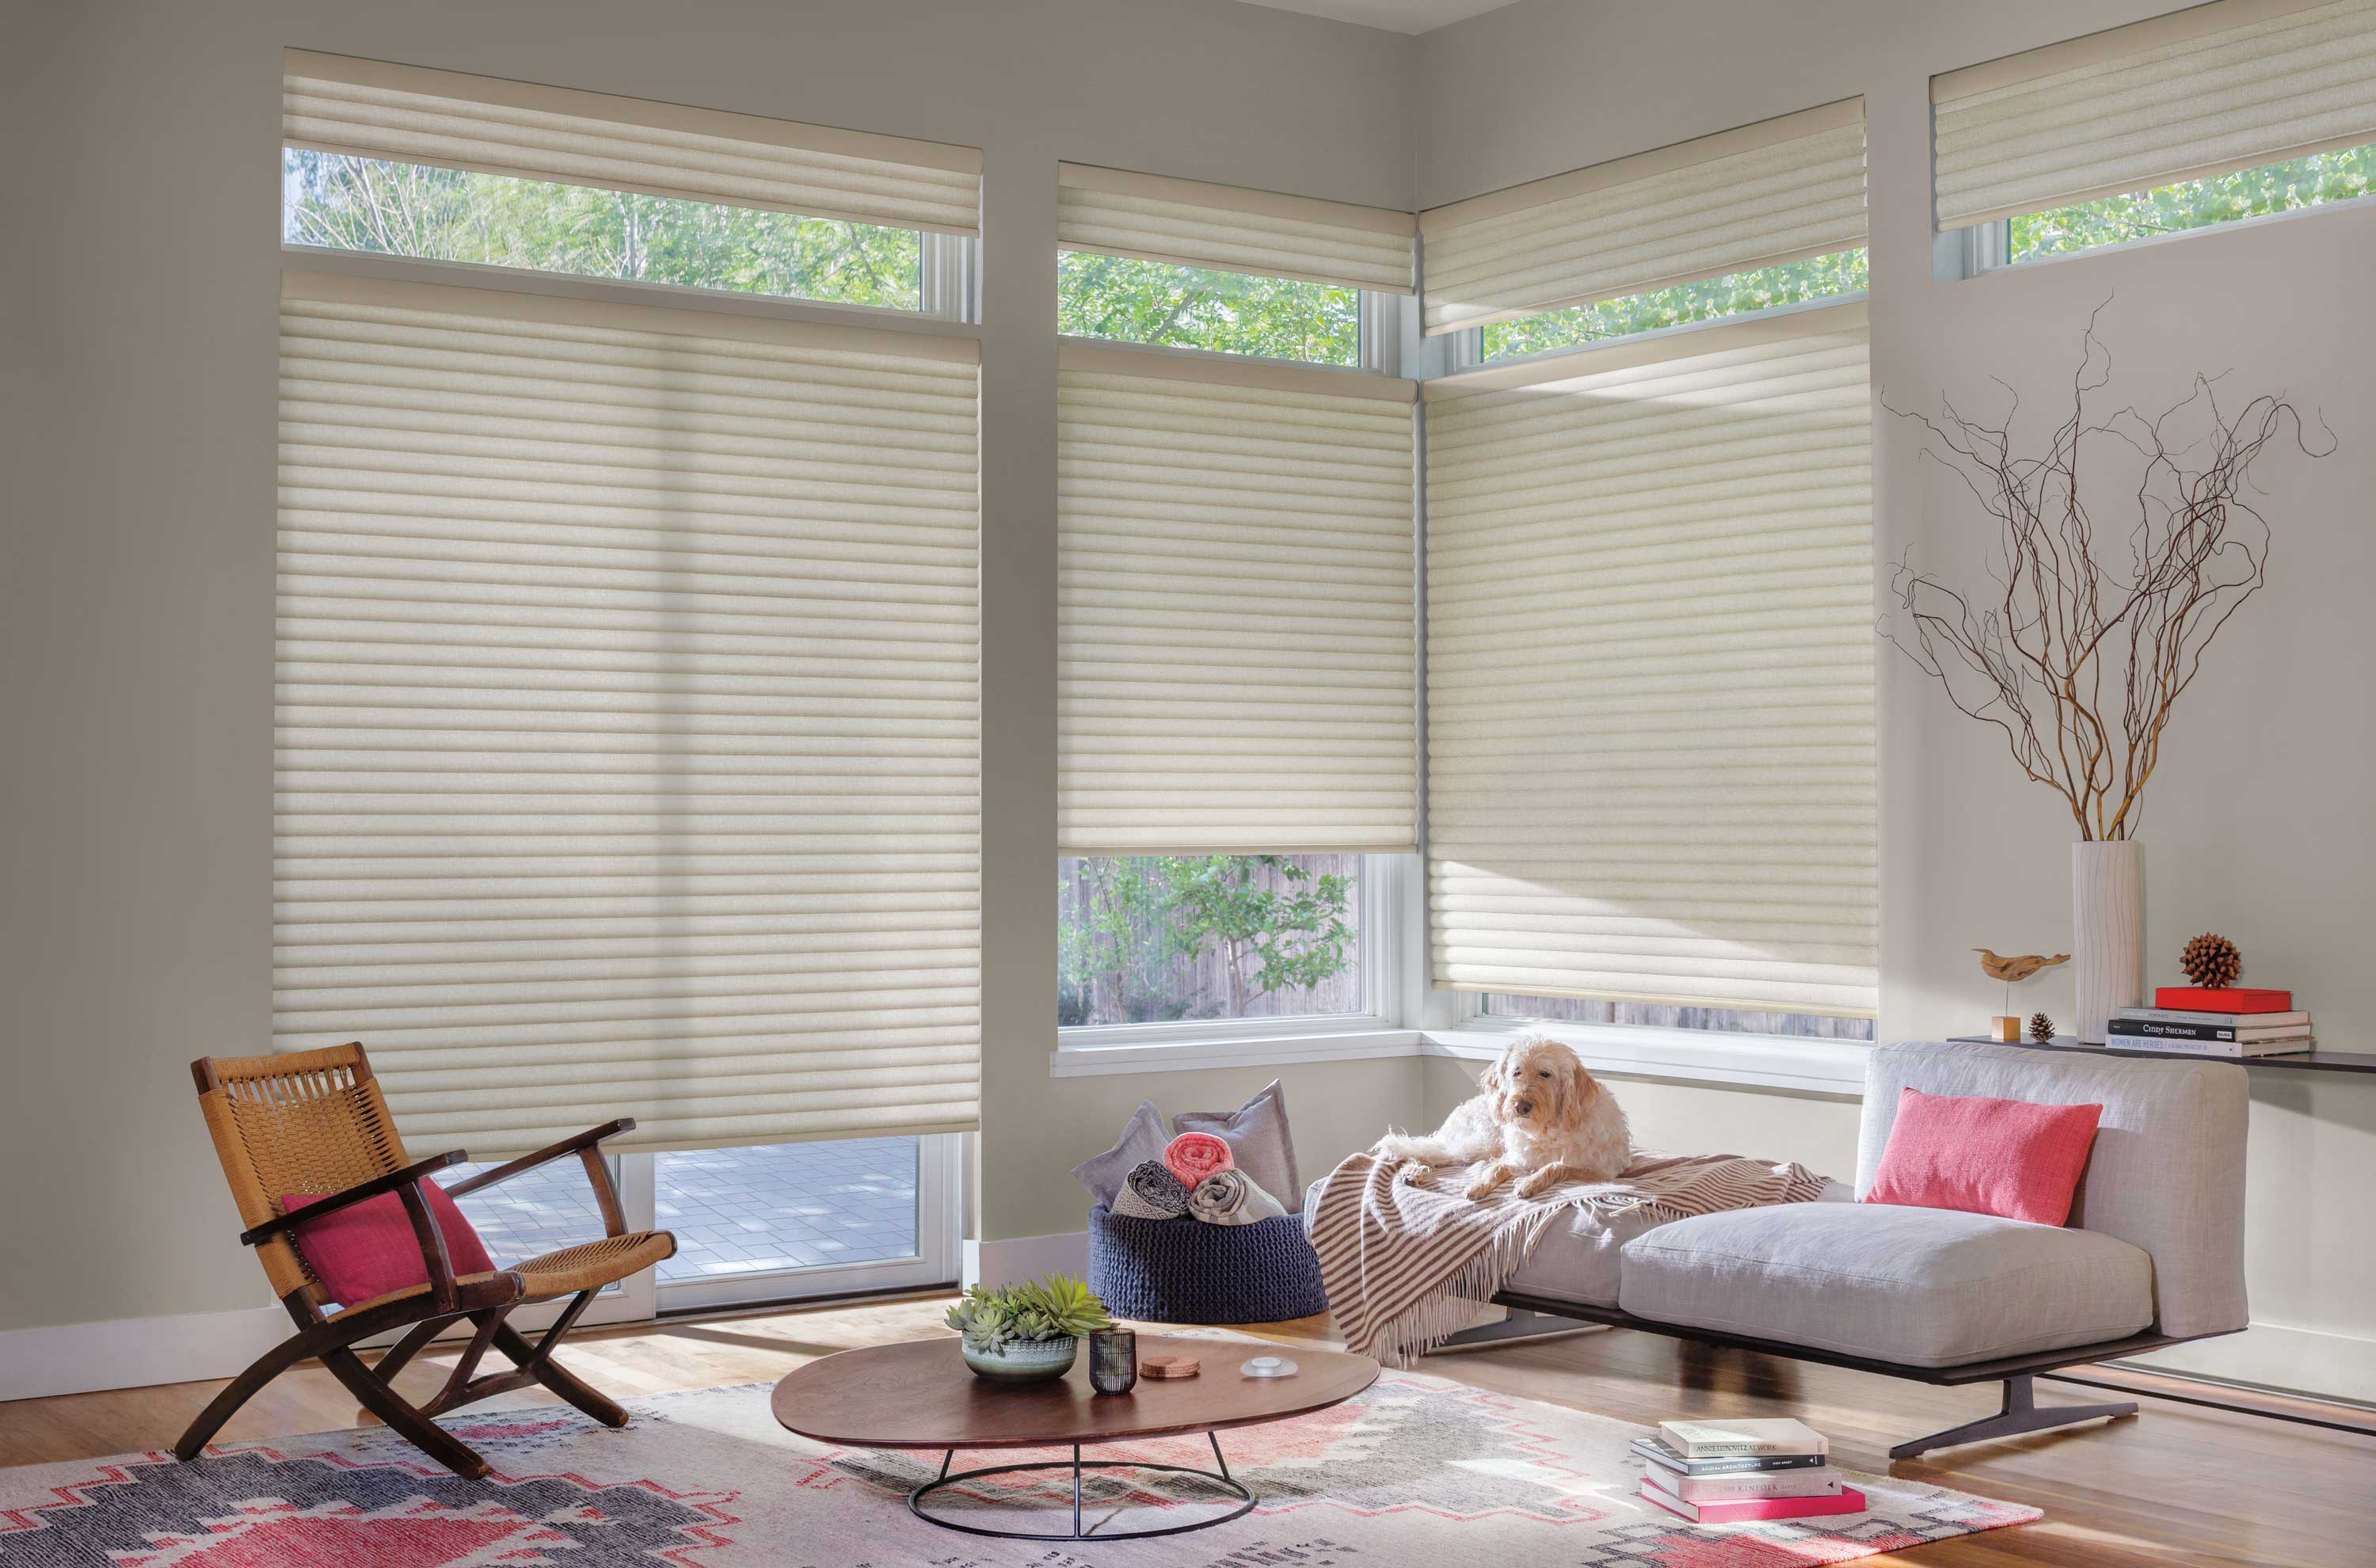
Honeycomb shades—also known as cellular shades—get their name from their unique, pleated cellular design. It's this design that traps air, providing incredible insulation and energy efficiency for your home. But this construction also means dust, pollen, and even small bugs can get trapped inside those cells.
If you use the wrong approach, you risk damaging that delicate fabric or a pleated cell. Most fabric shades, including brands like Hunter Douglas, Alta, Graber, and Norman, are made from a polyester material that's treated to resist static and repel dust. Using the wrong products can break down those protective layers, leading to permanent discoloration, warping, or even voiding your warranty. I've seen it happen. A simple mistake can turn a perfect shade into a crumpled mess.
Light Maintenance Techniques
For most everyday dust and light dirt, you don't need anything more than a gentle touch. Think of this as your weekly or monthly routine to keep your shades looking fresh without much effort.
- Vacuum Brush: A soft upholstery brush attachment on a low-suction vacuum is your best friend. Start at the top of the shade and slowly move your way down, gently running the brush over the surface. The soft bristles will dislodge dust without pulling on the fabric.
- Microfiber Cloth: A simple, clean microfiber cloth works wonders for wiping down the fabric surface and the headrail.
- Dry Duster: Products like a Swiffer Duster can be very effective for a quick dusting of the surface, especially for shades that are difficult to reach.
Mark's Pro Tip: For dust that's settled deep inside the honeycomb cells, a simple, low-tech solution works best. Use a can of compressed air or a cool-setting hairdryer and gently blow air into the pleats. This will safely dislodge the dust without touching the delicate fabric. This is my go-to tip for a quick, deep clean on a new installation to make them look perfect.
Safe Spot Cleaning Methods
Sometimes, a little spot of dirt or a small mark from a sticky finger needs more than a simple dusting. For these moments, you'll want to use a spot cleaning approach.
First, identify the type of stain. Most household stains—from coffee, soda, or a simple smudge—can be handled with a targeted approach. The secret is to use minimal moisture and a mild solution.
- Approved Cleaning Solutions: Mix a few drops of a mild dish soap with lukewarm water. A non-detergent fabric spot remover is also an option, but always check a hidden area first.
- The Dabbing Technique: Gently dampen a clean sponge or microfiber cloth with your solution. Do not saturate it. The goal is to lift the stain, not to scrub it deeper into the fabric. Gently dab the stained area, working from the outside of the spot inward. Continue dabbing with a dry cloth to absorb any remaining moisture.
What to Avoid: Never use bleach or ammonia-based cleaners. These will permanently damage the fabric and its protective coatings. Also, do not scrub the fabric. Aggressive scrubbing can distort the pleats and create a frayed, fuzzy area that can't be repaired.
Deep Cleaning (When Allowed by the Manufacturer)
This is a critical section of this guide, so listen closely. Most honeycomb shades are NOT designed to be submerged in water. Trying to wash a non-washable shade is a guaranteed way to ruin it.
That said, some manufacturers, such as Graber, offer specific lines of shades with special washability features. If you have a brand-certified washable shade, follow these steps:
- Preparation: Remove the shade from the window and lay it flat in a bathtub.
- Soak: Fill the tub with lukewarm water and a very mild soap (like Woolite). Gently swish the shade in the water to agitate it. Let it soak for about an hour.
- Rinse: Drain the tub and refill with clean water to rinse away the soap. You may need to do this a few times to ensure all residue is gone.
- Dry: Hang the shades to dry. Use a gentle fan or place them in a well-ventilated area. Do not use a high-heat dryer or direct sunlight, which can cause the fabric to shrink or warp.
Mark's Pro Tip: Before you attempt a deep clean, call your installer or check the original documentation for your specific shade. I can't stress this enough. If you're unsure about the manufacturer's recommendations, stick to a dry dusting. The risk of permanent damage is simply too high.
Cleaning Motorized and Cordless Shades
Modern motorized and cordless honeycomb shades are incredibly convenient, but they require extra care during cleaning. The most important rule here is to protect the electronics and internal mechanisms from water.
- Battery Location: Always check where the battery pack is located before you begin. It's usually tucked discreetly inside the headrail or connected by a small wire. Make sure any liquid is kept far away from these areas.
- Electrical Safety: Never spray any liquid directly into the headrail where the motor and wiring are housed. If you're using a slightly damp cloth to wipe the headrail, wring it out completely first.
- Rechargeable Systems: For shades with rechargeable motors, be especially careful around the charging port. A single drop of water in the wrong place can cause a short circuit that will permanently damage the motor.
The simple light maintenance techniques—the vacuum brush, compressed air, and microfiber cloth—are the safest approaches for motorized shades.
Common Mistakes to Avoid
Even with the best intentions, a few common mistakes can ruin your shades. Here's a quick list of what to avoid:
- Submerging or Soaking: Unless your shade is certified as "washable" by the manufacturer, never submerge it in water.
- Harsh Chemicals: Bleach, strong detergents, and abrasive cleaners will discolor the fabric and break down its protective layers.
- Forgetting to Test: No matter how confident you are in your method, always test a small, inconspicuous area (like a back pleat near the top) before applying it to the visible surface. This is my #1 installer rule for cleaning without risk.
- Damaging the Pleats: Aggressive scrubbing or pulling on the fabric can permanently crush the pleats, making them lose their crisp, clean look.
When Cleaning Isn't Enough: Repair or Replace?
Sometimes, a shade is beyond cleaning. Maybe a pet tore it, a child stained it with permanent markers, or the years have simply taken their toll.
- Signs of Permanent Damage: Look for large tears, irreversible discoloration, or a severely crushed cellular structure.
- Call a Pro: If your shade is damaged, it's always best to call a local window covering professional. Many dealers can perform simple repairs, such as re-stringing a corded shade or replacing a headrail component.
A good local installer will be honest about whether a repair is worth it or if it's time for a replacement. They have access to the right tools and manufacturer parts.
Final Advice from a Pro: Keep It Gentle
The number one rule is to be gentle.
- Do: Use dry methods first, like a vacuum brush or compressed air.
- Don't: Use harsh chemicals, or submerge your shades unless the manufacturer explicitly says it's okay.
- Do: Spot clean with a mild soap and water mixture, dabbing gently to lift the stain.
- Don't: Scrub the fabric, which can damage the pleats and distort the shade's appearance.
Remember, most manufacturers and installers are happy to answer your questions. Before you try anything new, check their website or give them a call. Taking a little time to do it right is the best way to keep your shades looking beautiful and performing perfectly for years to come
https://luxewindowworks.com/trends-in-window-coverings-2025/
.https://www.youtube.com/watch?v=NlyDZ4l7bfo#ddg-play
Have Questions About Your Windows?
Our team offers free in-home consultations throughout Northern Idaho. Get personalized advice for your specific situation.